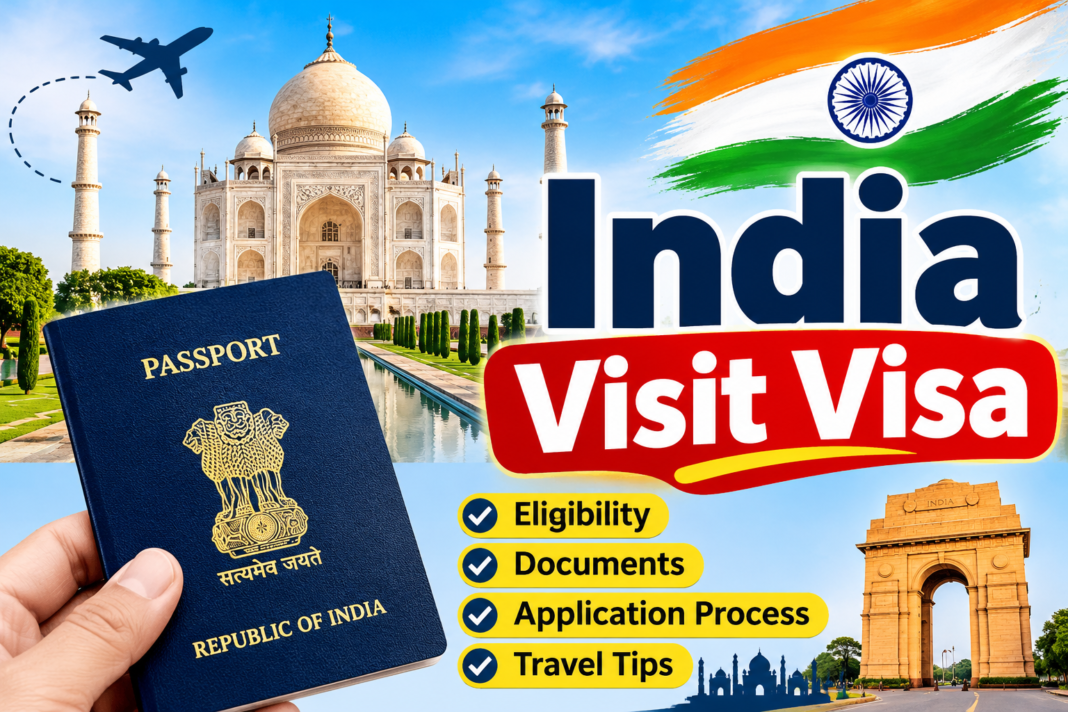
India Visit Visa: What I Wish Someone Had Told Me Before Applying
Three days before his flight to Delhi, my friend Daniel sent me a screenshot with a single message: “They’ve sent my application back. Something about the photo.”
He’d already paid for a non-refundable ticket. His cousin was getting married in Jaipur, and half the family was waiting for him. Now he was sitting in his kitchen in Manchester, refreshing his email every few minutes and asking if he should cancel the whole trip.
He didn’t need to. We sorted out the photo that evening, and his approval arrived the next day. But the scare taught us both a lesson: applying for an Indian visit visa isn’t hard, but the process leaves little room for small mistakes.
I know because I’ve made plenty myself. The first time I applied, I searched “India visa,” clicked the first result that looked official, and paid almost three times the actual fee to a site that was really just a middleman. My visa came through, but I felt foolish about it for weeks.
So here’s what I’ve learned, explained the way I would over a cup of chai.
What people mean by “visit visa”
People use the phrase pretty loosely. India doesn’t have an official visa category called a “visit visa.” Usually, they mean a short-stay visa for one of these reasons:
• Tourism, including sightseeing, holidays and short recreational trips
• Visiting friends or relatives for a wedding, festival or family get-together
• Short business trips, such as attending meetings or exploring a market
• Medical visits or attending a conference
If you’re visiting friends or family, the tourist category is usually the first one to look into. That’s what Daniel applied for, and it’s what many first-time visitors choose.
The first decision: e-Visa or regular visa
This is the first big choice, and it shapes everything that follows.
The e-Visa is the online option. You complete a form, upload a photo and a copy of your passport, pay by card, and receive your approval by email. No embassy visit, courier or waiting in line. It’s available to citizens of more than 160 countries, with the list having grown over the years.
A regular (paper) visa is handled through an Indian mission—an embassy, high commission or consulate—or through an authorized visa centre. It costs more, takes longer and usually requires more paperwork. But it’s the only route if your nationality isn’t eligible for an e-Visa or your travel plans don’t meet the e-Visa rules.
My advice: check the e-Visa eligibility list first. If you’re eligible and planning a typical short visit, the e-Visa can save you time and hassle.
Which tourist e-Visa should you pick?
The e-Tourist Visa comes in three durations: 30 days, one year and five years. The longer options allow multiple entries, which is useful if you expect to visit again. For a single trip, the 30-day visa is usually the best fit.
Here’s my second mistake: I once chose the one-year visa “just in case” for a two-week holiday. It cost more than the 30-day option, and I didn’t use it again that year. Unless you genuinely expect to return, the shorter visa is the more practical choice.
A few things to keep in mind:
• Fees vary depending on your nationality, how long the visa is valid for and, sometimes, the time of year. Many travellers pay around $10–$25 for the 30-day visa, but some nationalities are charged more. Don’t trust a figure from a blog—even this one—as the final word.
• There’s usually a small bank or processing fee on top of the visa cost.
• You won’t get the fee back if your application is rejected or you change your mind.
• The rules on how long you can stay per visit and how many times you can visit each year have changed before. Check the conditions on the portal before paying.
Before you open the application form
Get everything ready first. It may sound tedious, but a little prep can be the difference between a 30-minute application and a three-evening saga.
1. Check your passport. It needs to be valid for at least six months from the day you arrive, with at least two blank pages. Daniel had only five months left. We caught it just in time, but otherwise, it could have derailed the whole trip.
2. Prepare a proper photo. This is the most common reason applications get sent back, so check the portal’s exact requirements. Generally, you’ll need a recent, square, front-facing photo against a plain, light background. Make sure your whole face is visible, there are no heavy shadows and your glasses aren’t reflecting light. Daniel’s kitchen-wall selfie was rejected. We retook it against a plain white wall, using light from a window, and it went through.
3. Scan your passport’s bio page. Use a scanner or a reliable scanning app rather than taking a quick phone photo. Show the entire page, with all four corners visible and the text easy to read. Check the portal’s file-size and format limits before uploading, too.
4. Keep your travel details handy. You’ll need your planned arrival date, the airport or port you’ll enter through and your accommodation details. If you’re staying with family or friends, have your host’s name, address and phone number ready.
5. Keep a return or onward ticket handy. You may be asked to show proof that you’ll leave, and having it ready can make things go more smoothly.
6. Make sure your card works for international payments. Some banks block these by default, so call yours beforehand if you’re unsure.

The step-by-step: applying for the e-Visa
Here’s how it went when I helped Daniel—and how I’d do it again.
Step 1: Go to the official website. The government portal is indianvisaonline.gov.in. Type the address into your browser instead of clicking an advert. I made that mistake the first time. Lookalike sites can show up at the top of search results, with polished designs and convincing language, and charge extra for something you can do yourself for free.
Step 2: Start a new e-Visa application. Select the e-Visa option, then choose your nationality, passport type, arrival port and expected arrival date
.
Step 3: Fill out the form carefully. Your name must match your passport exactly, including the spelling and order. Don’t guess at any details. If a question isn’t clear, look it up rather than clicking through.
Step 4: Upload your photo and passport page. If the portal rejects a file, resize or recompress it to meet the stated limits instead of repeatedly uploading the same one.
Step 5: Pay the fee. Use the official payment page and take a screenshot of the confirmation. Keep your application ID somewhere safe—you’ll need it to check your status or sort out any issues later.
Step 6: Wait, then check your status. Approval usually comes by email, often within a few days, but processing times vary. Don’t book anything non-refundable until your approval arrives. Daniel learned that lesson the hard way.
Step 7: Print your approval. Carry a paper copy with your passport. Airlines and immigration officers may ask to see it, and phone batteries always seem to die at the worst possible moment.
When to apply:
The portal sets a minimum application window. When I checked, you had to apply at least four days before arriving. The maximum time you can apply in advance has changed over the years, too, so check the portal for the latest rules.
My rule of thumb is to apply around two to three weeks before your trip. That gives you time to sort out a photo issue or correct a typo without applying so early that the approval window becomes a concern. Applying just four days ahead may be allowed, but it leaves little room for problems. Daniel’s flight was only three days away when his photo was rejected, and he was very lucky.
Arriving in India with your e-Visa
The e-Visa is valid only at designated airports and some seaports, and the list keeps growing. Delhi, Mumbai, Bengaluru, Chennai, Kolkata and Hyderabad are among the approved airports. Before booking, make sure your arrival airport is on the list.
At immigration, you can expect to have your fingerprints and photo taken. The officer may ask where you’re staying and how long you’ll be in India. Keep your answers brief and make sure they match what you put on the application.
Recent guidance also mentions an online arrival card that travellers may need to complete shortly before landing. Rather than rely on my memory for the details, check the official portal in the week before you fly to see if it applies to you.
Real situations I’ve seen
The wedding guest. Daniel needed no more than 30 days, so he chose the 30-day tourist e-Visa. He should have applied sooner, but his approval came through, and he reached Jaipur with a day to spare.
The backpacker. A friend planned to spend three months travelling around India. She chose the one-year multiple-entry option so she could visit Nepal and return. Before paying, she carefully checked the stay limits for each visit—a detail that can easily catch people out.
The “remote worker.” Someone I know thought he could work from his laptop on a beach in Goa while visiting on a tourist visa. But a tourist visa is for tourism. If you plan to do paid work or stay for a long time, check which visa category applies before you travel—or ask an Indian mission. Guessing can get you into serious trouble.
The returning relative. If you’re of Indian origin and have a foreign passport, consider whether an Overseas Citizen of India (OCI) card might suit you better than renewing visas over and over. It involves a different process and has its own requirements, but it can make frequent visits much easier.
Common mistakes to avoid:
Here’s the checklist I wish someone had given me before my first application.
• Using a lookalike website. The official portal is indianvisaonline.gov.in. If you’re on another site and the fee seems much higher than expected, stop.
• Booking flights before approval. There’s no guarantee your visa will be approved. Wait for it, or book refundable tickets.
• Rushing your photo. Poor lighting, shadows, glare, a bad background or a cropped face can get your application sent back.
• Making typos in your name or passport number. Even small discrepancies can cause problems at the airport. Check everything carefully before paying.
• Overlooking your passport’s validity. It needs at least six months of validity and two blank pages. Check both.
• Arriving at the wrong airport. Not all airports accept e-Visas, so make sure yours is on the list.
• Forgetting about restricted areas. Some regions—especially parts of the north-east, border areas and certain islands—require extra permits that an e-Visa doesn’t cover. If you’re heading somewhere remote, look into the permit rules early.
• Assuming a tourist visa allows you to work. It doesn’t.
• Leaving it until the last week. Give yourself a buffer in case something goes wrong.
• Losing your application ID. You’ll need it to track your application or sort out any problems.
If your application is rejected:
Don’t panic, and don’t rush to pay again. Start by reading the message carefully. It could be something simple, like a photo or document that needs fixing. Or it may mean the e-Visa isn’t the right option for you, and you’ll need to apply through an Indian mission instead. If you’re unsure what the message means, contact the helpline on the official portal or your nearest Indian mission and ask.
A few last words before you hit submit:
India’s visit visa isn’t something to dread. Most of the stress comes from rushing, relying on the wrong website, or booking flights too soon. Set aside an evening to get your passport scan, photo, and travel details ready, and the application itself should be fairly straightforward.
Daniel made it to the wedding, by the way. He told me afterward that the best part wasn’t the food or dancing, though both were incredible. It was stepping out of Jaipur airport with his approval tucked in his bag, knowing the paperwork was finally behind him.
If you’re planning your own trip, give yourself enough time, use only the official portal, and check every detail before you pay. After that, the fun begins.
Disclaimer:
This article is for general informational purposes only. It reflects the author’s own experience and research and is not legal, immigration or professional advice. Visa rules, eligibility lists, fees, processing times, entry airports and document requirements can change without notice and can differ depending on your nationality and personal circumstances. Always confirm the latest information on the official Government of India visa portal (indianvisaonline.gov.in), with the Bureau of Immigration, or with the Indian embassy, high commission or consulate that serves your country before you apply or book travel. This website is not affiliated with the Government of India or any embassy, and does not process visa applications. We are not responsible for any loss, delay, refusal or other outcome resulting from the use of the information in this article.